How to Document Water Damage for an Insurance Claim
Water damage evidence disappears as materials dry. Here is how to capture moisture readings, map affected areas, and build documentation that holds up in an appraisal.
By Marshall Smith, IAUA CPAU Certified Insurance Appraiser · Published August 24, 2026 · 7 min read · Filed under Claim Documentation
The single most important thing to know about documenting water damage is this: capture the evidence while it is still wet. Moisture readings, thermal patterns, water lines, and staining all fade or vanish as materials dry, get demolished, or get replaced. If you want a record that supports the full scope of loss — whether you are working through your claim directly or heading toward an appraisal — start measuring and photographing on day one, keep dated readings over time, and preserve samples of affected materials before anyone throws them out. Everything else in this guide is detail on how to do that well.
Start documenting before the water is gone
Water damage is one of the few property losses where the evidence actively works against you the longer you wait. A hail-bruised shingle looks the same next week; a saturated wall does not. Drywall wicks, dries, and can be cut out. Carpet gets pulled. Padding gets bagged and hauled off. A baseboard that read heavily saturated on Monday may read near-dry by Friday — and once it reads dry, there is no way to prove after the fact how wet it was.
This is why timing drives the whole documentation process. The goal is to create a dated, layered record: initial readings taken as soon as it is safe, follow-up readings as drying progresses, and photographs at each stage. That progression tells a story a single snapshot cannot — it shows how far the water traveled, how deeply materials were affected, and how the property responded to mitigation.
If a mitigation company is already on site, ask them for copies of their moisture logs and drying records. They document as part of their work, and that data becomes part of your file. But do not assume it will be complete or that it captures everything you care about. Your own record fills the gaps.
The tools that measure moisture, and what each one reads
Three instruments do most of the work in water-damage documentation, and each answers a different question.
A moisture meter measures the moisture content of a specific material — drywall, wood, subfloor, framing. Pin meters use two probes that read moisture between the pins; pinless meters scan below the surface without leaving marks. A moisture meter for a water damage claim is what tells you whether a wall that looks fine is actually holding water inside it. The readings only mean something in context, though: you compare a suspect area against a known dry area of the same material to establish what "normal" looks like in that building.
A thermal imaging camera does not measure moisture directly. It reads surface temperature, and wet materials tend to hold temperature differently than dry ones, so moisture often shows up as a distinct pattern on the image. Thermal imaging is excellent for finding where to point the moisture meter — it reveals the shape of an affected area behind a wall or under a floor that looks untouched to the eye. Always confirm a thermal anomaly with an actual moisture reading, because temperature differences can have other causes.
A hygrometer measures the humidity and temperature of the air in a room. It matters because ambient conditions affect how fast materials dry and whether a space is drying at all. Recording air readings alongside material readings helps explain the drying curve over the days that follow.
Used together, these tools move you from "this looks wet" to "this material read this level of saturation, over this area, on these dates."
Moisture mapping room by room, day by day
Moisture mapping is the practice of recording readings at fixed points across the affected area and repeating them over time. Done properly, it produces a moisture mapping record for the insurance claim that shows both the extent of the loss and its behavior.
A practical approach:
- Sketch each affected room and mark measurement points — walls at set intervals, floor zones, and any adjacent rooms the water may have reached.
- Log a reading at each point with the date, the material, and the instrument used.
- Return and re-read the same points as drying continues, ideally daily during active mitigation.
- Note the reference (dry-standard) reading for each material so anyone reviewing the file understands the baseline.
The pattern this creates is what makes the documentation persuasive. It shows how far the water migrated — often well beyond the obvious puddle — and it distinguishes areas that dried quickly from areas that stayed saturated, which points to where hidden damage may sit. A one-time reading proves a moment; a mapped series proves the loss.
Telling a sudden discharge from long-term seepage
Property policies generally treat a sudden and accidental water discharge very differently from gradual, long-term seepage. Because that distinction often decides coverage, documentation should speak to it directly — factually, not argumentatively.
Evidence that tends to support a sudden event includes a clearly identifiable source (a burst supply line, a failed water heater, an appliance connection), fresh and clean water lines, and materials that are saturated but not yet showing the secondary effects of prolonged exposure. Evidence more consistent with long-term moisture includes layered staining, material deterioration, mineral or rust deposits, and biological growth that takes time to develop.
You are not the person who ultimately decides which category applies — but you are the person best positioned to preserve the facts before they are cleaned up or demolished. Photograph the failed component. Keep the failed part if you safely can. Document the surrounding conditions honestly. An accurate record protects you regardless of how the coverage question resolves.
Photographing water lines, staining, and the materials behind them
Photographs turn readings into something anyone can see. Build the set in layers so it reads like a walkthrough:
- Wide shots that establish each room and its overall condition.
- Medium shots showing water lines on walls, staining on ceilings, and the boundary between wet and dry areas.
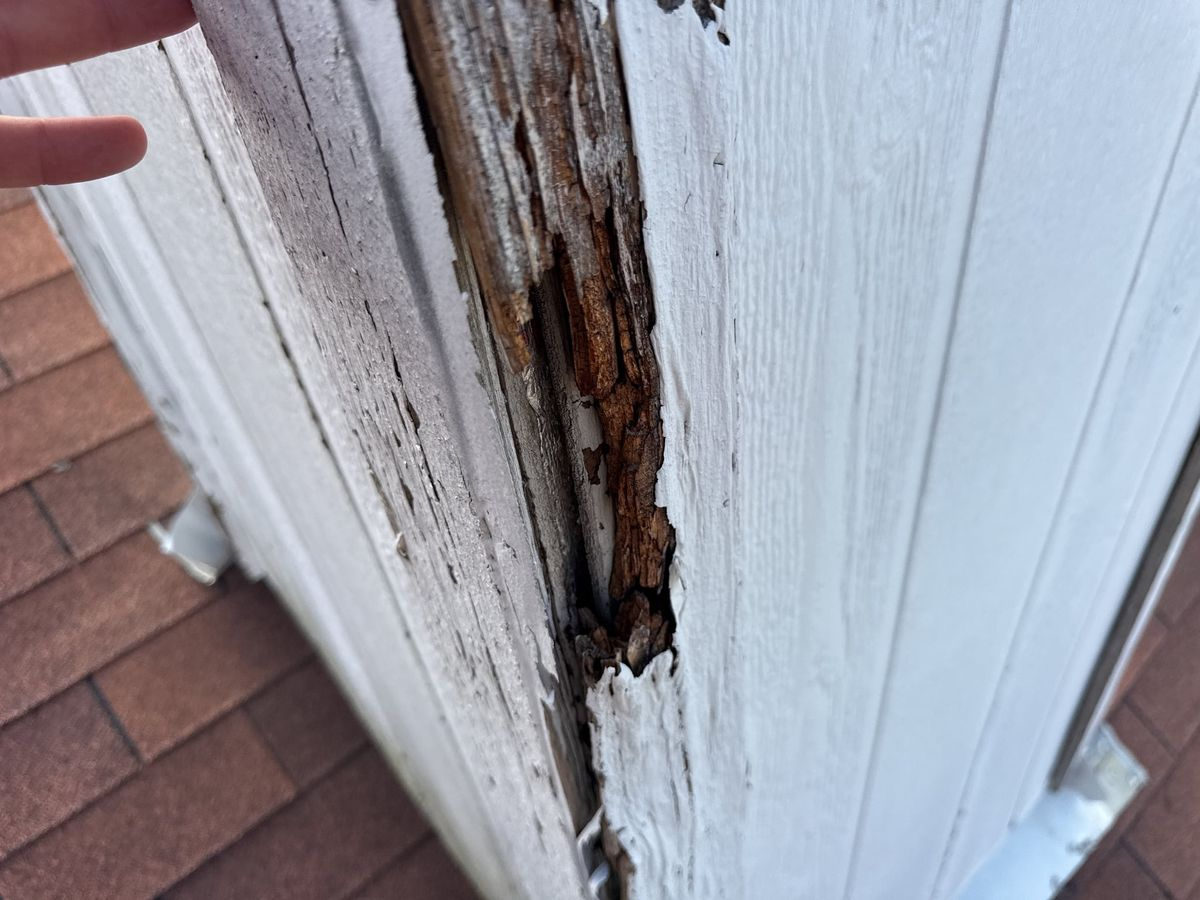
- Close-ups of affected materials — swollen baseboards, delaminated flooring, softened drywall, corroded fixtures.
- The source, photographed from multiple angles.
- The meter in the frame, so a reading and its location appear in the same image.
Include a reference for scale where it helps, keep the camera's date stamp on, and photograph the same views again as conditions change and as materials are removed. When mitigation crews cut out drywall or pull flooring, that is often the only chance to document what was behind the surface — the framing, the insulation, the subfloor. Once it is bagged, it is gone.
A short written log tied to the photos — what each shows, where, and when — makes the whole set far easier to follow later.
Turning moisture data into a defensible scope of loss
A scope of loss is the itemized list of what was damaged and what it takes to restore it. Moisture documentation feeds directly into it. The mapped readings define the extent — which rooms, which materials, how far the water reached. The photographs and material evidence support the repairs those conditions call for.
This is where thorough documentation earns its keep. When two parties assess the same loss and reach different numbers, the disagreement usually traces back to scope: whether a given wall needs replacement or just drying, whether flooring in the next room was affected, whether concealed framing was involved. A dated moisture map and a layered photo set give those questions factual answers instead of leaving them to competing opinions. You can read more about how water losses are handled on our water and flood damage appraisal page.
If the scope disagreement cannot be closed through discussion, the appraisal clause in most property policies provides the structured mechanism both sides already agreed to. It is not a lawsuit and not an adversarial process — it is a neutral way to resolve a dispute over the amount of loss, and well-organized moisture evidence is exactly what an independent appraiser and umpire rely on.
The documentation gaps that stall water-damage claims
A few recurring gaps slow water claims more than anything else:
- No baseline readings, so saturation numbers have nothing to compare against.
- A single day of data instead of a series, which cannot show migration or the drying curve.
- Materials discarded before they were photographed or measured.
- The source undocumented, leaving the sudden-versus-gradual question unsupported.
- Photos with no location or date context, so no one can tell what they show.
Every one of these is avoidable with a disciplined routine on the front end. Treat documentation as part of the response, not an afterthought.
A few questions property owners still ask
Do I need professional equipment to document water damage? Helpful, but not required to start. Photographs, a written log, and preserved materials build a strong foundation. Mitigation companies and independent appraisers bring calibrated meters and thermal cameras; ask for copies of their readings for your file.
How long should I keep taking readings? Through the drying process and until conditions stabilize. A record that ends the moment mitigation begins misses the part that proves how the loss behaved over time.
What if materials were already removed before I documented them? Document what remains, gather any readings or photos the mitigation crew took, and keep receipts and work orders. Contemporaneous third-party records help fill the gap.
Is water damage handled the same way as storm damage in an appraisal? The clause works the same way for any amount-of-loss dispute, though the evidence differs by peril — moisture data here, impact evidence for a hail damage claim. You can find more on the process in our appraisal FAQ.
Talk it through before you decide
If you have documented a water loss and the scope or amount is still in disagreement, an independent, evidence-based review can help you understand where the difference lies and whether the appraisal process fits your situation. Marshall Services offers a free consultation to talk through your water-damage documentation and next steps. Call 972-322-0752 to speak with a certified property appraiser and umpire.