How to Document Property Damage Before Appraisal
Good documentation is the raw material every amount-of-loss determination is built from. Here is how to photograph, film, inventory, and record property damage so the record survives long after the damage is repaired.
By Marshall Smith, IAUA CPAU Certified Insurance Appraiser · Published September 15, 2026 · 8 min read · Filed under Claim Documentation
The most effective way to document property damage is to capture it thoroughly and immediately: take dated, well-lit photographs at three distances with a scale reference, record a slow video walk-through of every affected room and exterior elevation, build a written inventory of what was damaged, and preserve a sample of any material you must remove during temporary repairs. Do this before you clean up, patch, or discard anything. The record you create in the first days after a loss becomes the raw material that any appraiser — yours, the carrier's, or a neutral umpire — relies on to measure the amount of loss, and it is nearly impossible to recreate once repairs begin.
Everything below explains how to do each of those steps well. None of it decides whether your loss is covered — that is a separate determination under your policy. What good documentation does is make the amount of loss provable, so that if the number is ever disputed, the disagreement turns on evidence rather than memory.
Why the record you build drives the amount-of-loss figure
Appraisal is a mechanism written into most property policies for resolving one specific disagreement: how much the loss is worth in dollars. Each side selects its own independent appraiser, and if the two cannot agree on particular line items, a neutral umpire decides those items. Every one of those people works from a record. A photograph of a cracked ceiling, a video showing water staining down a wall, an inventory listing damaged flooring by room and square footage — these are the facts a scope and estimate are built from.
When that record is thin, the appraisers are left estimating from partial information, and honest professionals can reach genuinely different numbers. When the record is complete, the range of reasonable estimates narrows, and the process moves faster. Thorough documentation does not guarantee a particular result. It simply makes the loss legible, which is the single most useful thing a property owner can do before an appraisal begins.
Photograph the damage at three distances, with something for scale
Photographs are the backbone of any property damage file, and the common mistake is taking too few of them, all from the same distance. Shoot every area of damage at three ranges:
- Wide shots that establish the room or the side of the building, so anyone reviewing the file can see where the damage sits in context.
- Medium shots that frame the damaged area itself — a section of ceiling, a run of baseboard, a slope of roof.
- Close-ups that show the actual condition: the crack, the puncture, the water line, the char, the missing granules.
In the close-ups, include something for scale. A tape measure, a coin, or a standard-size object next to the damage tells the reviewer how large it actually is. "Hail bruising on shingles" means one thing; hail bruising photographed beside a ruler means something measurable.
Keep the date intact. Most phones embed the capture date and location in the image file automatically — leave that metadata on and avoid editing or cropping the originals. Store a copy of the untouched files somewhere safe. Take far more photographs than you think you need; storage is cheap, and a second visit to the same damage after cleanup is often impossible.
Walk the property on video, room by room and elevation by elevation
A video walk-through does something a still photo cannot: it shows the damage in continuous context, so there is no question about which wall, which room, or which side of the building a piece of damage belongs to. Move slowly. Narrate plainly — "this is the northeast bedroom, water staining across the ceiling and down the exterior wall" — without speculating about cause or dollar value.
Organize the footage the way an estimator reads a property: interior first, room by room, then exterior, elevation by elevation. Pause on each area long enough that a single frame could be pulled from the video if needed. For a multi-story or larger commercial or multi-family property, a consistent path through the building keeps the footage from becoming a jumble that no one can map back to a floor plan.
Write down what was damaged before you throw anything away
An inventory is the written companion to your photos and video. For each damaged item or building component, record what it is, where it is, its approximate age and condition before the loss, and — for finishes like flooring or roofing — the approximate quantity or square footage affected. You do not need to assign dollar values yourself; that is what the appraisal process measures. What you need to fix in the record is what existed and what was harmed.
Two details are worth extra effort. First, capture the quality and specification of materials while you still can: the type of shingle, the grade of flooring, the finish on cabinetry. The difference between a builder-grade and a premium finish is a real difference in the amount of loss, and it is far easier to establish before demolition than after. Second, gather any existing records — receipts, prior invoices, photographs from before the loss — that show the property's pre-loss condition. Those establish the baseline against which the damage is measured.
Preserve the perishable evidence before temporary repairs cover it
After many losses you must act quickly to prevent further damage — tarping a roof, extracting water, boarding an opening. That work is often necessary and appropriate. The problem is that it can also erase the evidence of what happened. Before you cover or remove anything, document the underlying condition thoroughly, and where practical, keep a physical sample.
If you are removing a section of damaged roofing, keep a shingle. If wet drywall or flooring is coming out, photograph the back side and the substrate, and save a representative piece. In a water intrusion event, the path the water traveled and the height it reached are perishable facts — mark and photograph the water line before you dry things out. Keep every invoice for temporary or emergency repairs; that work is part of the loss and belongs in the record too.
Keep a record of when the loss happened
The timeline matters because it connects the damage to the event. Note the date you first discovered the damage and the date of the event you believe caused it, and keep any correspondence about the claim in one place. If a storm is involved, write down what you observed at your own property — you can describe what you saw and when without asserting figures you cannot verify. Avoid stating specific wind speeds or hail sizes as fact unless they come from a documented source; a claim of an exact measurement that cannot be traced back to anything weakens the record rather than strengthening it. What supports the timeline is your own consistent, dated observation, backed by the photos and video you captured on those dates. For hail and wind losses in particular, the match between the damage and the event's timing is often the crux of a scope disagreement.
What high-resolution and drone imagery add on the roof and upper elevations
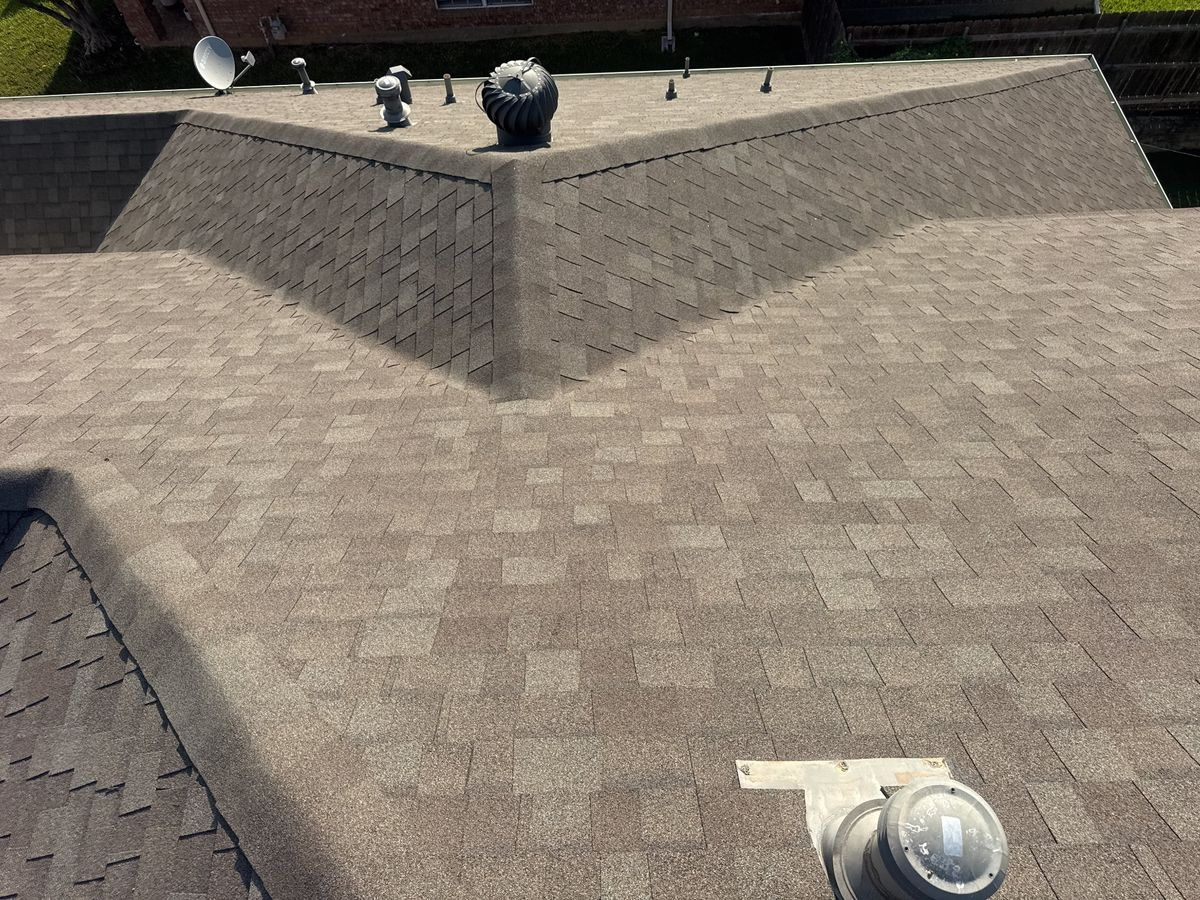
Roofs and upper elevations are where documentation most often falls short, simply because they are hard to reach and dangerous to inspect. Do not climb a damaged roof to get photos. High-resolution imagery captured from the ground with a good zoom, and professional drone inspection flown by a certified operator, together produce detailed, dated overhead and elevation views without anyone setting foot on a compromised surface.
For a roof, aerial imagery documents each slope, the ridges and valleys, penetrations, flashing, and the overall field in a way that maps directly to how a roof is measured and estimated. The resolution matters: fine detail like granule loss, mat bruising, or seam separation shows up in high-quality imagery and is what an estimator needs to build an accurate scope. Because the imagery is dated and geolocated, it also anchors the condition to a specific point in time — valuable if the roof is later repaired or if weather intervenes before an appraisal is complete.
Bring your documentation together and talk it through
Once you have the photos, video, inventory, samples, and records assembled, keep them organized and backed up in more than one place. A well-built file is useful whether or not a dispute ever arises — and if the amount of loss is disagreed upon and appraisal is invoked, that file is exactly what the process runs on.
If you are unsure whether your documentation is complete, Marshall Services offers a free consultation to review where your record stands before an appraisal begins. Marshall Smith is an IAUA Certified Professional Appraiser with FAA Part 107 drone certification, serving property owners across Texas, Louisiana, Oklahoma, Colorado, and California. You can call 972-322-0752 or submit your documentation for review to get started, and the appraisal process FAQ answers many of the questions that come up first.
Frequently Asked Questions
What documents are needed for a property damage claim?
A complete property damage file generally includes dated photographs of the damage at wide, medium, and close ranges, a video walk-through of affected rooms and exterior elevations, a written inventory of damaged items and materials, records establishing the property's pre-loss condition, invoices for any emergency or temporary repairs, and notes on when the damage occurred and was discovered. Keep original files unedited and stored in more than one place.
When should I start documenting property damage?
Start immediately, before any cleanup, patching, or temporary repair covers or removes the evidence. The condition of a property in the first days after a loss is difficult or impossible to recreate later, and documentation captured while the damage is fresh — with intact date information — is far more useful than anything reconstructed from memory once repairs are underway.
Should I make temporary repairs before documenting the damage?
Document first, then make necessary temporary repairs to prevent further loss. Photograph and, where practical, keep a physical sample of anything you must remove or cover, such as a damaged shingle or a piece of wet drywall. Reasonable steps to stop ongoing damage are appropriate, but capturing the underlying condition beforehand preserves evidence that would otherwise be lost, and it keeps the emergency-repair costs part of the documented record.
Does documentation decide whether my damage is covered?
No. Documentation and the appraisal process address the amount of loss — how much the damage is worth in dollars. Whether a loss is covered at all is a separate determination made under your policy by the carrier, and where the parties disagree, resolved by a court, never by the appraisers or the umpire. Thorough documentation supports an accurate measurement of the loss regardless of how the coverage question is ultimately handled.
Can drone photos be used to document roof damage?
Yes. Professional drone imagery flown by a certified operator documents each roof slope, ridge, valley, and penetration in high-resolution, dated, geolocated detail — without anyone climbing a damaged and potentially unsafe surface. That level of detail maps directly to how a roof is scoped and estimated, and because the imagery is time-stamped, it anchors the roof's condition to a specific point before any repair or later weather changes it.